"Now you die!" - basically any Morrowind NPC
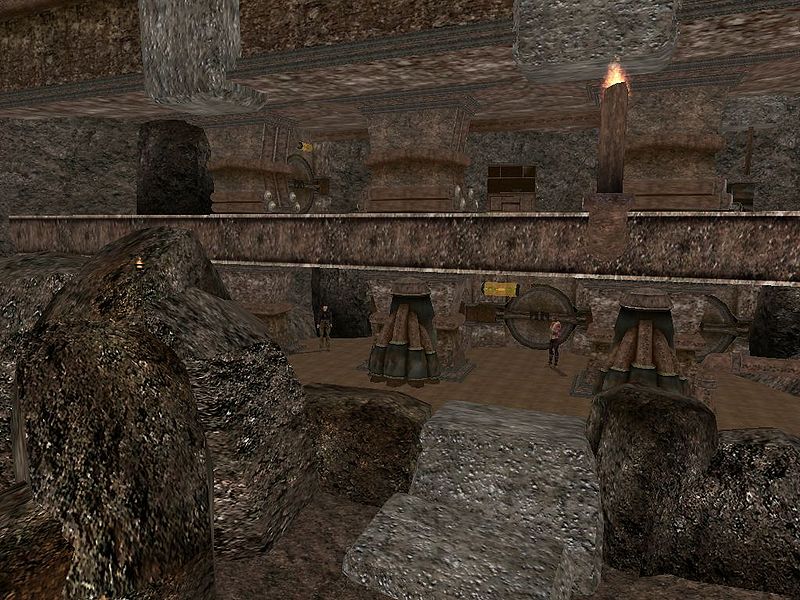
At the bottom of the rock stairs is a two-level structure: the bottom level contains three doors to Weepingbell Hall—the two on the left lead directly to a corridor with another door to Heaven's Gallery, the one on the right leads to the main corridor system—and the top has a door leading to the other area of the Cells of Hollow Hand. Also on the top level a Dwarven spear can be found leaning against a cabinet. Various Dwemer artifacts and other junk can be found in steel kegs and crates, along with a motley assortment of ingredients and gold.
Lots of choices to make here, when we get to constructing a dungeon based on this one we'll be sure to take that into consideration.
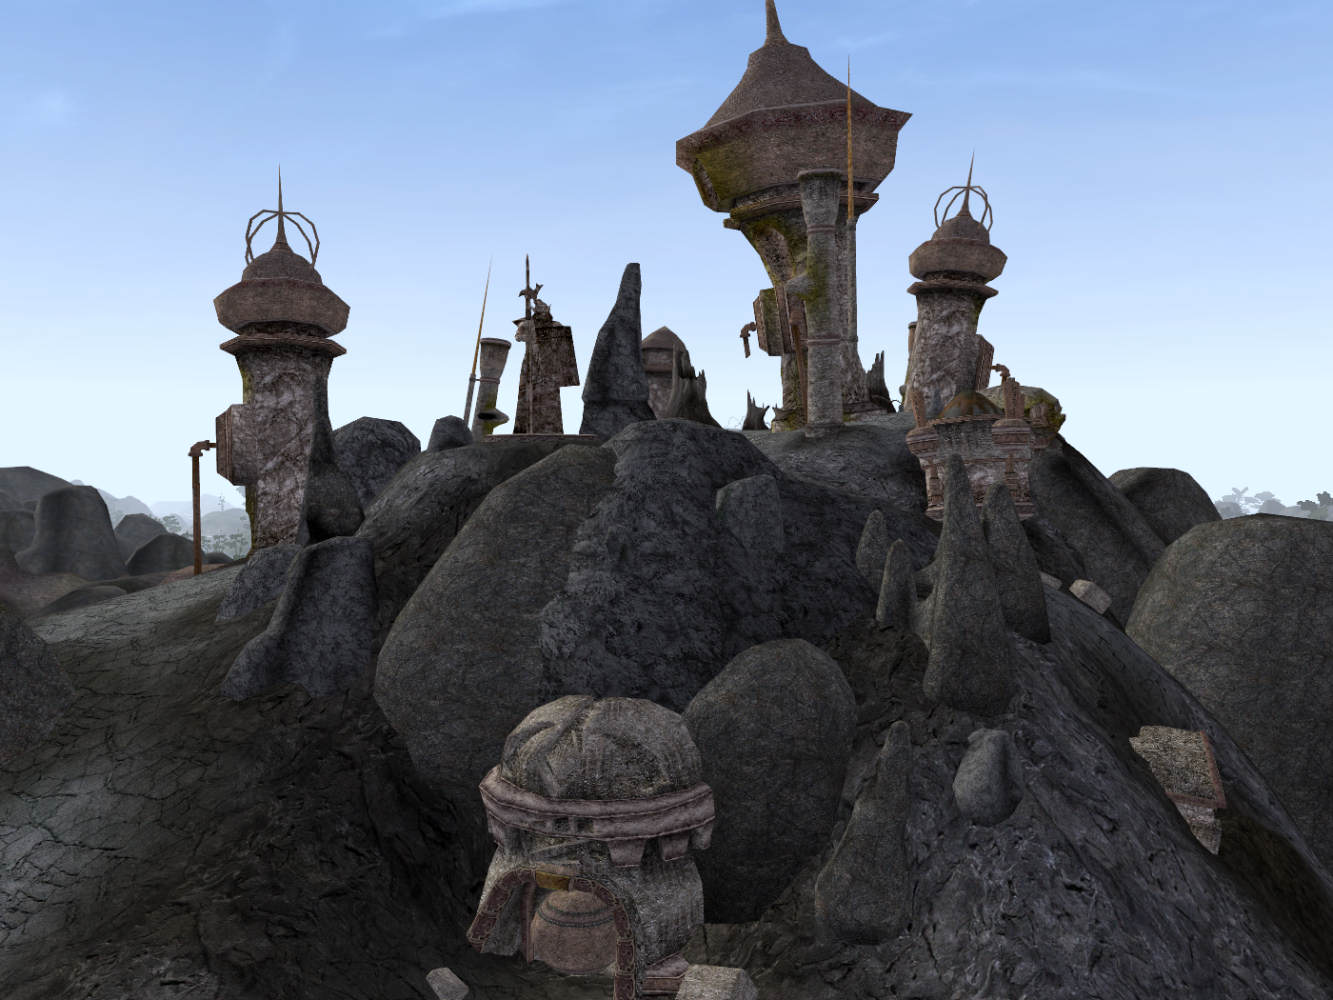
Since this is an ancient ruin, it's full to the brim with antediluvian artifacts from the Dwemer, the race of people that used to inhabit the world. The tools, treasures, and trinkets they left behind fit their architectural style of being very heavy, yet still valuable. If the player isn't too careful, they can easily find themselves over-encumbered after picking up a few cogs and cylinders.

Glorious, early 3D maps.
Let's talk about what's not so good for a TTRPG dungeon, and that's static NPCs that immediately run towards the player upon sight. It's a classic trope in video games, especially for older titles. We don't want to do that. Maybe our dungeon has an archaeologist escorted by some meat-shields that may be obliged to barter with the PCs if they find any valuables therein? Or keep the flavor of those within the ruins as bandits who, depending on their reaction to the players, may as well attack on sight or prefer to talk, trade, or even tag along. Be sure to not just fill your dungeons with things to kill, this is a game not bound by programming or technical limitations after all!
Let's Make a Dungeon from This
Checklist
- Branching paths
- A MacGuffin to exfiltrate
- Environmental Hazards by way of lava
- Very hidden treasure
- Loot that's rich in value but bulky
To Leave Behind
- NPCs that attack on sight
- Traps that limit agency
- One faction inside the dungeon

Dungeon Notes
- Each square is 10'
- All doors are made of thick brass and etched with Dwarven runes.
- Walls and floor are carved from the rough, pock-marked volcanic rock of the mountain.
- Rooms without lava are pitch black, lava emits dim light for 50'.
- Being adjacent to lava forces a Save to not take d3 damage from the high heat. Combustible clothing/equipment/hair may ignite on a failure. Being on the lava requires another save to not take 2d8 on going damage per round and for d4 rounds afterwards or until extinguished.
Wandering Creatures
- 2: Mad Pyromancer, 6 HD, AC 9 (11), 1 attack (dagger) or 1 spell, mv 40', morale 9, XP 1050
- Spells: Invisibility, Lightning Bolt, Phantasmal Force, Hold Person
- Wand of Fireballs, Scroll of Summon Early Magma-Man Experiment (1d4 experiments summoned within 30'), Potion of Magma Form
- Unless a bad reaction roll is made, he will be friendly to the party and ask them to join him in trying to find the secret treasure hidden in the Lava Meditation Chamber
- Will try to push the weakest of the party into the lava and then drink a potion of Magma Form
- 3: Early Magma-Man Experiment (Lesser Fire Elemental), 4 HD, AC 4 (15), 1 attack (1d12, flame tongue, 10' reach), immune to fire damage, +1 weapon or better to hit, takes 2d6 damage from water, mv 40', morale 12, XP 650
- 4: 1d2 Rust Monsters, 5 HD, AC 2 (17), 2 attacks (rusts metal on a hit, magic items have a 10% chance to resist for each plus, rusted metal falls to pieces and falls apart, metal objects hitting the monster are affected the same as a +2 magic item), mv 45', morale 8, XP 270
- After devouring a metal item, a rust monster will run away to hide and digest, 30% chance to stop and digest in place
- 5: 2d4 Dwarven Skeletons. 2 HD, AC 7 (12), 1 attack (d6, one handed weapons), immune to
fear, charm, sleep effects, half damage from edged and piercing weapons,
blunt weapons deal an extra d4, mv 35', morale 8 XP 65
- 6: 1d4 Lesser Dwarven Automaton, 3+3 HD, AC 5 (14), 3 attacks (axe arm, 1d4 + 2 each), mv 30' on brass crab legs, morale fearless, XP 270
- 7: Greater Dwarven Automaton, 4+4 HD, AC 4 (15), 4 or 2 attacks (4 battle axe arms 1d4+3 or 2 great axe arms 1d5+5), attacks as if it has 8 HD, mv 60' on brass boar legs, morale fearless, XP 650
- 8: Recent Magma-Man Experiment (Greater Fire Elemental), 8+3 HD, AC 2 (17), 3 attacks (2 punches d8, fire breath in a 15' cone for 2d6 fire damage, save for half), +1 weapon or better to hit, immune to fire damage, takes 2d6 damage from water, mv 45', morale 12, XP 1,750
Room Key
- 1: Main Atrium. 3 Pillars hold up a platform above the ground floor and 3 doors are along the north wall behind the pillars.
- 1a: Central door is trapped, is a pull door with a brass pull ring, and will fall atop anyone who pulls it open. Save or take d10 damage from the weight.
- 2: 20' diameter, circular door of brass. Single key hole in the middle.
- Key is a Dwarven spear that's found in the eastern platform of ground in Room 8, just next to the lava tunnel that connects to 8a.
- 3:1 Deactivated Lesser Dwarven Automaton and shelves with exotic, but heavy, dwarven artifacts (jeweler's tools, pocket watches, clockwork toys, knicknacks). Will reactivate if the items on the shelves are disturbed or struck with electricity.
- 1 set of jeweler's tools (4 slots and worth 50 gp)
- 1d4 pocket watches (1 slot, 20 gp each)
- 2d6 Clockwork toys (3 slots each, 15 gp each)
- 3d6 Clockwork gears, sprockets, springs (5 slots each, 60 gold each)
- 4: Dwarven Treasure Room. Greater Dwarven Automaton and 2 Lesser Dwarven Automata guard the treasure.
- If tasked by the archaeologist, they will ask to have this armor for study, causing some tension between them and the party.
- Asbesteros, Ancient Half Plate (+1 half plate and once per day can speak the command word "Mesotheliomos" to become immune to fire damage for d4 Turns)
- 5: Gas Trap Room. Entering the room from the south and stepping on the floor will trigger a floor panel, causing the south door to slam shut tight. Gas will spill in from the ceiling and fill the room in 4 Rounds. Pushing on the east wall in the NE corner will reveal a hidden hallway connecting to the eastern hallway and it will shut off the gas.
- After exposure to the gas, creatures must make a save vs poison or take d6 damage per Round. Creatures brought to 0 from the gas must make a save vs Death or immediately combust and become an Early Magma-Man Experiment (see Wandering Creatures)
- 6: Talking Statue: Magical statue of a dwarf-headed seal. Will greet any creatures that enter the room and say one of the following statements when talked to further:
- "Much Pleasure to those who brave the tunnels of flame"
- "An intruder has defiled this ruin."
- "A treasure may lead to more"
- "Only a dwarf may enter the sacred lava meditation chamber"
- 7: 4 Lesser Dwarven Automata, one with 5 HD and a dwarven spear that can be used to open the locked door in 2. They are guarding the doors to the lava meditation chamber. They will warn to not open the door without authorization.
- 8: Lava Meditation Chamber:
- 8a: If tasked by the archaeologist, they will ask to have this weapon for study, causing some tension between them and the party. Schamasch, Sentient Great Hammer (+2 two-handed hammer, +3 vs underground-dwelling creatures and has a 5 in 6 chance of breaking any door once per day).
- 9: Lava Pit: The Mad Pyromancer created this new section of the ruins and added a lava pit to deter and slow intruders. The pit is 50' deep and those who fall will be burned by the lava. The sides of the pit are greased and smooth. There is an invisible, magic rune on the NW tile in the room just south of the hallway leading to the stairs that will alert the pyromancer of intruders.
- The SW corner of the room on the west wall is black from scorch marks.
- The SE door is trapped. It is made of stone and has an iron door knob. It can only be safely opened if the door knob is heated up until it is glowing red. Otherwise, the door's fire rune will blast a line of fire towards the west wall, dealing 3d6 damage to all in its path (half on save).
- 10: Magician's Study. The magic-user that moved here was seeking refuge from those who wished to stop his mad experiments of turning into a Magma-Man. The room contains d3+1 Potions of Magma Form.
- Potion of Magma
Form: drinker's body and belongings magically turn to magma for d6
Turns. They can still act as normal but are completely immune to damage
from burning, fire, heat, etc. and take double damage from cold, water,
ice, etc. If in Lava, they can move at half their normal rate. If they
are submerged in water, they become petrified in d4 Rounds unless they
escape. Deal d6 fire damage on successful touch attack, save or ongoing d6 fire damage to target for d4 Rounds or extinguished.
- 11: Bedroom. Has a secret door that leads to an open, vertical shaft connecting a tunnel back to the entrance.
- NW corner of the room, the north wall has burn marks on it
- Secret door is opened by holding an open flame next to the north wall in the NW corner, it is an illusory wall and will disappear when triggered
- The other end of the secret tunnel has a magical lever than is in the neutral position. It can be pulled or pushed. If pushed, some rocks fall from the ceiling to crush whoever is beneath, dealing 2d8 damage, half on save. If the lever is pulled, the rocks at the dead-end disappear and lead back to the entrance.
Hooks/Rumors
An archaeologist hires the party to escort them to the ruins and retrieve dwarven relics for study. Will pay them by letting them keep any items they don't want + 300 gold.
Strange, mechanical creatures have been found around a cave at the nearby mountain. A curious village was chased by one of them that had crab legs and 4 axes for arms and barely made it out alive. They're the one drinking their sorrows away at the bar missing a hand.
A wizard abandoned his tower a year ago and it recently burned down. Approaching the tower will cause 2 Early Magma-Man Experiments to jump from the rubble and attack. A journal can be found in the remains of the tower with the last several entries talking about a ruins found in the nearby mountain that could further the wizard's research.
Players find a treasure map pointing to the location of the ruins, saying that a magical two-handed hammer is hidden there.


Very nice, I just discovered your blog and it seems like a great type of posts. Someone made a beautiful battle map of Arkngthand on reddit a few months ago.
ReplyDelete